


Today, more and more developers are looking at how they can bring their existing applications to the cloud—or at how to build new cloud-native applications. Many organizations have significant investments in the migration of mission-critical applications running on-premises to fully supported environments to run these apps in the cloud. This post explains how to deploy and run both Apache APISIX API Gateway and Ingress Controller on Scaleway Cloud Managed Kubernetes
Firstly, let’s understand what is Apache APISIX and Scaleway, how you can leverage both solutions to serve your needs. Or you can just skip the intro sections and start with the tutorial.
What’s Apache APISIX?
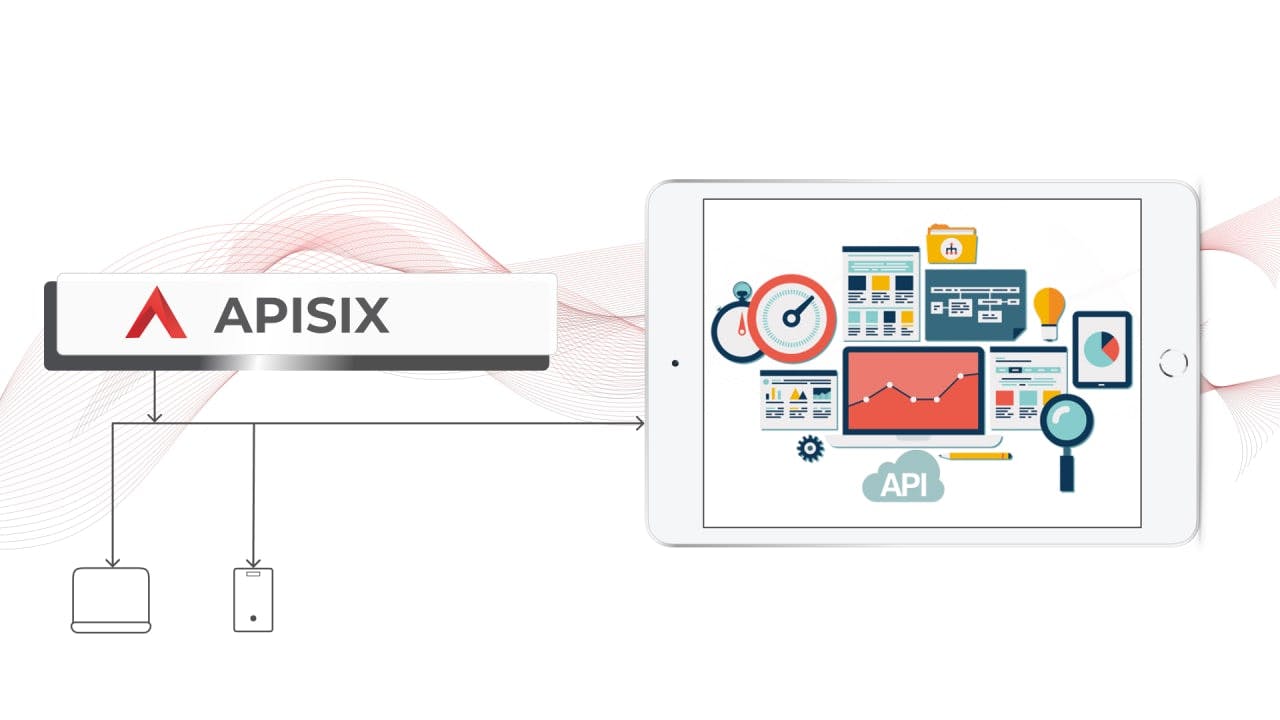
Apache APISIX is an open-source API Gateway under Apache Software Foundation that is lightweight, independently deployable, and scalable that can run anywhere that allows developers to manage API endpoints. You can also leverage APISIX as Kubernetes Ingress Controller to deliver high performance and get the benefits of stateful load balancing, traffic split, hot reloading, and expansion capabilities by means of its offered diverse plug-ins to satisfy your specific needs. You can read more about the use cases and features offered by Apache APISIX in the documentation.
It is also possible to install Apache APISIX by different methods (Docker, Helm, or RPM) and run it in the various public cloud providers because of its cloud-native behavior.
What is Scaleway?
Scaleway is a cloud provider with a variety of services. The public cloud Scaleway elements offer all the important components of a general cloud provider such as serverless, containers, storage & database, virtual machines, networking, IoT hub, and many more. You can easily build, deploy and scale your applications in the flexible price model and cost-efficiently.
Scaleway is the most complete cloud ecosystem trusted by 25000+ businesses in the EU market. It is also playing an active role in improving the open-source ecosystem which already includes many well-known open-source projects such as NodeJS, CentOS, OpenSuse, and others. You might also want to learn about the Scaleway Open Source Program here.
Apache APISIX as an API Management solution in the Scaleway Cloud
Apache APISIX is also a part of this cloud computing partnership program as it is a community project. The main purpose of being a part of the program is to give customers of Scaleway prospect to accelerate their business with an API-first approach by ready-to-use open-source API management solution for building, managing, securing, and observing all internal and external APIs.
We found out that currently, Scaleway does not provide any API management and analysis software in their cloud. As a result, we decided to become partners to connect with thousands of developers from all over the world to get answers and share knowledge, invest in our communities, and give them full control of services with the cloud tools to do what they love. For example, similar to well-known cloud vendors offering API Management solutions like AWS API Gateway, Azure API Management, or Google Cloud Apigee, you can effortlessly get the benefit of APISIX to manage the full API life cycle.
With a small background knowledge of Apache APISIX and Scaleway Cloud, we can jump in to get started guide to bring APISIX and run it with Scaleway’s Kubernetes Kapsule or Kosmos.
Note: Kubernetes Kapsule and Kosmos are two different cluster types that provide a managed environment to create, configure and run a cluster of preconfigured machines for containerized applications. This allows you to create Kubernetes clusters without the complexity of managing the infrastructure.
Prerequisites
- For local host environment, you might need to install Kubectl and Helm. It is required to connect to the Kubernetes's cluster.
- You have an account and are logged into the Scaleway console.
- You need create a Kubernetes cluster using the Scaleway Cloud by simply following the Scaleway’s Kubernetes Quickstart guide. You can use the comprehensive documentation to help you go with console.
Deploy Apache APISIX and Ingress Controller
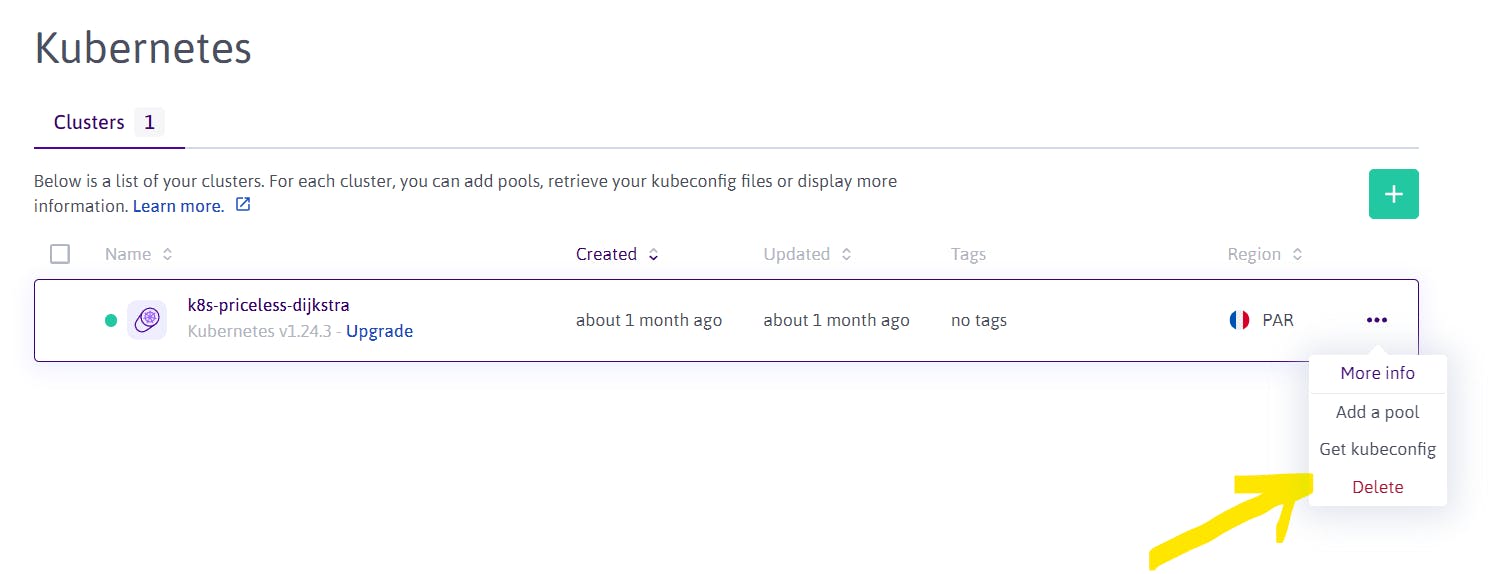
At this point, I can assume that you created a Kubernetes cluster type of Kapsule. Then, you need to open the Scaleway console, navigate to the Kubernetes cluster you created and download the cluster configuration file kubeconfig from the Kubernetes cluster and copy it to the local computer's ~/.kube/config (the default path of kubectl).
Note: If you have configured the KUBECONFIG environment variable before,
kubectlwill load the KUBECONFIG environment variable first instead of ~/.kube/config. Please note when using.
Connect to a cluster with kubectl
Once your cluster is created and the .kubeconfig file is downloaded, you can use this with kubectl, the Kubernetes command line tool, allowing you to run commands against your Kubernetes clusters. You can use kubectl from a terminal on your local computer to deploy applications, inspect and manage cluster resources, and view logs. See how to connect to a cluster with kubectl for more info.
Below you can find two kinds of deployment command examples, one for deploying APISIX and another for Ingress Controller.
Deploy and run APISIX
To install APISIX via Helm, run:
$ helm repo add apisix https://charts.apiseven.com
$ helm repo add bitnami https://charts.bitnami.com/bitnami
$ helm repo update
$ helm install apisix apisix/apisix --create-namespace --namespace apisix --set gateway.type=LoadBalancer
As an output, you will get the following with the notes:
NAME: apisix
LAST DEPLOYED: Thu Sep 15 01:14:12 2022
NAMESPACE: apisix
STATUS: deployed
REVISION: 1
TEST SUITE: None
NOTES:
1. Get the application URL by running these commands:
     NOTE: It may take a few minutes for the LoadBalancer IP to be available.
           You can watch the status of by running 'kubectl get --namespace apisix svc -w apisix-gateway'
  export SERVICE_IP=$(kubectl get svc --namespace apisix apisix-gateway --template "{{ range (index .status.loadBalancer.ingress 0) }}{{.}}{{ end }}")
  echo http://$SERVICE_IP:80
As it is mentioned in the notes, you should run the blow commands to get application IP/URL address:
$ export SERVICE_IP=$(kubectl get svc --namespace apisix apisix-gateway --template "{{ range (index .status.loadBalancer.ingress 0) }}{{.}}{{ end }}")
$ echo http://$SERVICE_IP:80

http://51.159.10.6:80
You can check anytime the deployment status of APISIX:
$ kubectl get pods -n apisix # All resources are ready

NAME                      READY   STATUS    RESTARTS   AGE
apisix-656ff547f4-vvcdg   1/1     Running   0          3m9s
apisix-etcd-0             1/1     Running   0          3m9s
apisix-etcd-1             1/1     Running   0          3m9s
apisix-etcd-2             1/1     Running   0          3m9s

$ kubectl get service -n apisix

NAME                   TYPE           CLUSTER-IP      EXTERNAL-IP   PORT(S)             AGE
apisix-admin           ClusterIP      10.33.189.212   <none>        9180/TCP            3m29s
apisix-etcd            ClusterIP      10.43.213.105   <none>        2379/TCP,2380/TCP   3m29s
apisix-etcd-headless   ClusterIP      None            <none>        2379/TCP,2380/TCP   3m29s
apisix-gateway         LoadBalancer   10.35.46.143    51.159.10.6   80:30345/TCP        3m29s
After we make sure that APISIX is upon and running, we can verify it by creating a sample Upstream (which targets an external mock service such as httpbin.org) and a Route.
First, let's apply some changes to our Kubernetes manifest file to have APISIX pod access to the external service (httpbin.org). To do so, you can run the following command:
$ kubectl apply -f - <<EOF
kind: Service
apiVersion: v1
metadata:
  name: httpbin-external
spec:
  type: ExternalName
  externalName: httpbin.org
EOF
Next, we can create our first test route with an upstream (backend service that is pointing to httpbin.org).
You need to replace
APISIX_PODwith the name of APISIX's pod.
kubectl exec -it ${APISIX_POD} -n apisix -- curl "http://127.0.0.1:9180/apisix/admin/routes/1" -H "X-API-KEY: edd1c9f034335f136f87ad84b625c8f1" -X PUT -d '
{
  "host": "httpbin.org",
  "uri": "/*",
  "upstream": {
    "type": "roundrobin",
    "nodes": {
      "httpbin-external.default.svc.cluster.local:80": 1
    }
  }
}'
Then, we can verify access and if the newly created route is functioning correctly by running another final command:
$ curl http://51.159.10.6:80/get -H 'Host: httpbin.org'
{
  "headers": {
    "Accept": "*/*",
    "Host": "httpbin.org",
    "User-Agent": "curl/7.68.0",
    "X-Amzn-Trace-Id": "Root=1-63228c4e-0388e1b61255180620195210",
    "X-Forwarded-Host": "httpbin.org"
  }
}
Here we go, APISIX Admin API is responding to our requests in the Scaleway Cloud and the request is forwarded to the external service.
Deploy and run APISIX Ingress Controller
Next, we will try to install and verify Apache APISIX Ingress Controller is running in the Scaleway Cloud and we do very similar steps as we did for APISIX.
To install APISIX Ingress with helm:
$ helm repo add apisix https://charts.apiseven.com
$ helm repo add bitnami https://charts.bitnami.com/bitnami
$ helm repo update

$ kubectl create ns ingress-apisix
$ helm install apisix apisix/apisix \
  --set gateway.type=LoadBalancer \
  --set ingress-controller.enabled=true \
  --namespace ingress-apisix \
  --set ingress-controller.config.apisix.serviceNamespace=ingress-apisix
Then, check the deployment status:
$ kubectl get pods -n ingress-apisix

NAME                                         READY   STATUS    RESTARTS   AGE
apisix-5bcf68b548-qrsqb                      1/1     Running   0          1m
apisix-etcd-0                                1/1     Running   0          1m
apisix-etcd-1                                1/1     Running   0          1m
apisix-etcd-2                                1/1     Running   0          1m
apisix-ingress-controller-75bd4d9b9b-7xfn5   1/1     Running   0          1m

$ kubectl get svc -n ingress-apisix

apisix-admin                ClusterIP      10.36.120.143   <none>          9180/TCP            82m
apisix-etcd                 ClusterIP      10.47.39.201    <none>          2379/TCP,2380/TCP   82m
apisix-etcd-headless        ClusterIP      None            <none>          2379/TCP,2380/TCP   82m
apisix-gateway              LoadBalancer   10.45.241.11    51.159.206.46   80:30197/TCP        82m
apisix-ingress-controller   ClusterIP      10.47.236.40    <none>          80/TCP              82m
Afterward, we can deploy mock server htttbin to the default namespace in order to test the ingress controller:
kubectl run httpbin --image kennethreitz/httpbin --port 80
kubectl expose pod httpbin --port 80
Now we are ready to test ingress by creating a new route the same as below:
kubectl apply -f - <<EOF
apiVersion: apisix.apache.org/v2
kind: ApisixRoute
metadata:
  name: httpbin-route
spec:
  http:
    - name: rule1
      match:
        hosts:
          - httpbin.org
        paths:
          - "/*"
      backends:
        - serviceName: httpbin
          servicePort: 80
EOF
Finally, we can verify the route is working correctly by running the following command:
$ curl http://51.159.206.46:80/get -H 'Host: httpbin.org'
{
  "headers": {
    "Accept": "*/*",
    "Host": "httpbin.org",
    "User-Agent": "curl/7.68.0",
    "X-Forwarded-Host": "httpbin.org"
  }
}
What’s next
Up to now, we learnt how to deploy its Apache APISIX and Ingress Controller to Scaleway Cloud by using Kubernetes Kapsule. From this stage, you can create a route, upstream and manage the traffic to your backend services with the available built-in plugins if you want to take advantage of more APISIX's features.
Recommended content
➔ Watch Video Tutorial:
➔ Read the blog posts:
Community⤵️
- 🙋 Join the Apache APISIX Community
- 🐦 Follow us on Twitter
- 📝 Find us on Slack
- 📧 Mail to us with your questions.